Nothing Here Sits Still Long Enough
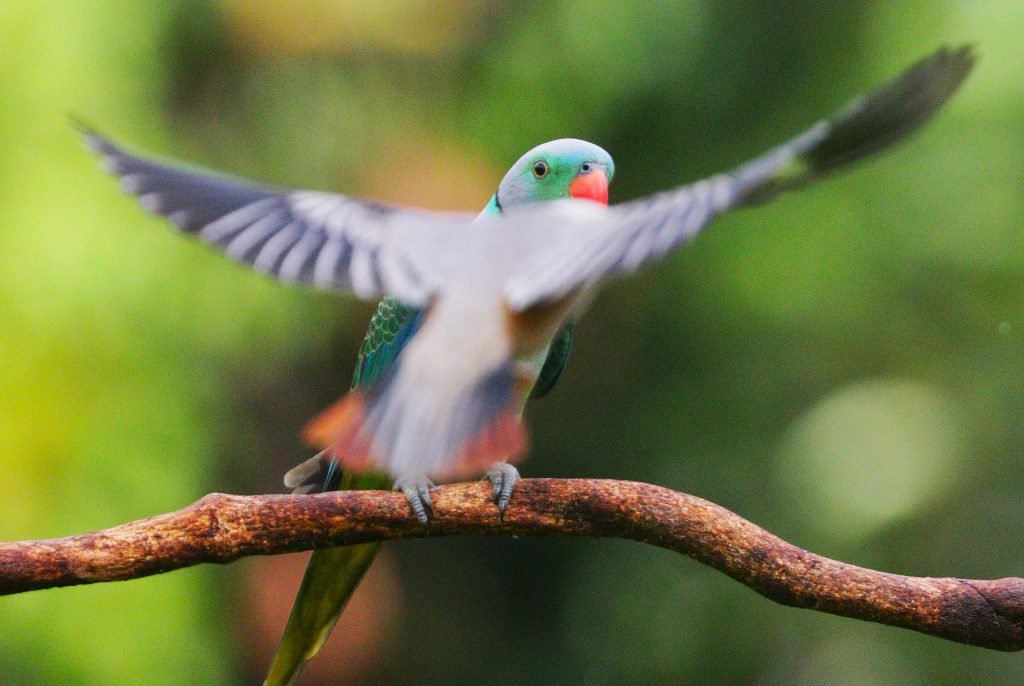
Every photography habit built at a mammal safari needs re-examining here. Tigers and leopards are large, slow-moving relative to the lens, and often photographed from a stationary or slow-moving jeep. Thattekad’s subjects are small, fast, frequently airborne, and almost always partially obscured by canopy — a genuinely different photographic problem that rewards different gear, different technique, and a different mindset entirely.
Forest Light Behaves Differently Than a Grassland
Open-landscape photography — the kind that works at a destination with real sightlines — relies on even, direct light and long, clean exposures. Thattekad’s forest canopy breaks that light into fragments before it reaches ground level: strong shafts where gaps allow direct sun through, deep shadow everywhere else, often within the same frame. This isn’t a minor adjustment. It changes how you meter, how you expose, and what you can realistically expect a single shot to capture cleanly.
The Lagoon Trail’s open wetland habitat is the exception worth remembering — genuine open sightlines and far more even light than the forest interior, which makes it a fundamentally easier environment to shoot in when you want a clean, well-exposed frame rather than working with fragmented forest light.
What Dappled Light Does to a Small, Fast Subject
Combine broken forest light with a subject the size of a sunbird moving at speed, and the margin for error shrinks considerably. A bird that crosses from shadow into a sunlit gap mid-frame can blow out entirely in the time it takes to react; the same bird photographed a half-second earlier, still in shadow, may be nearly unreadable in the resulting image. This is genuinely one of the harder lighting problems in wildlife photography, and it’s worth accepting early rather than fighting — many strong Thattekad images embrace this fragmentation rather than trying to eliminate it, using a shaft of light to isolate a subject against otherwise dark surroundings rather than seeking flat, even exposure across the whole frame.
The Gear Question: Reach, Weight, and What Actually Steadies a Shot
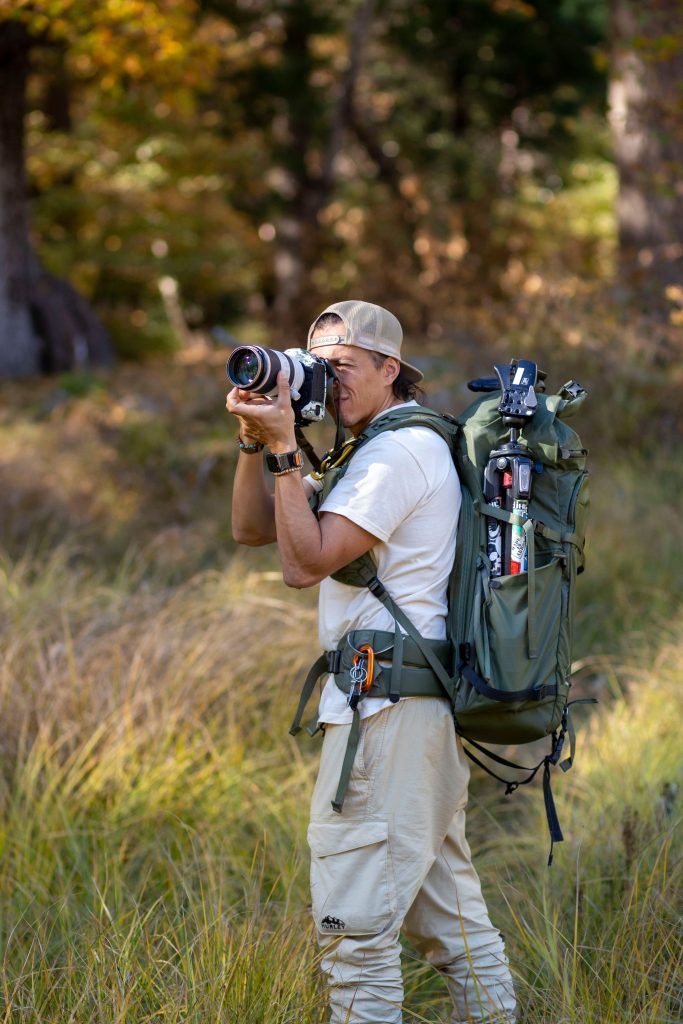
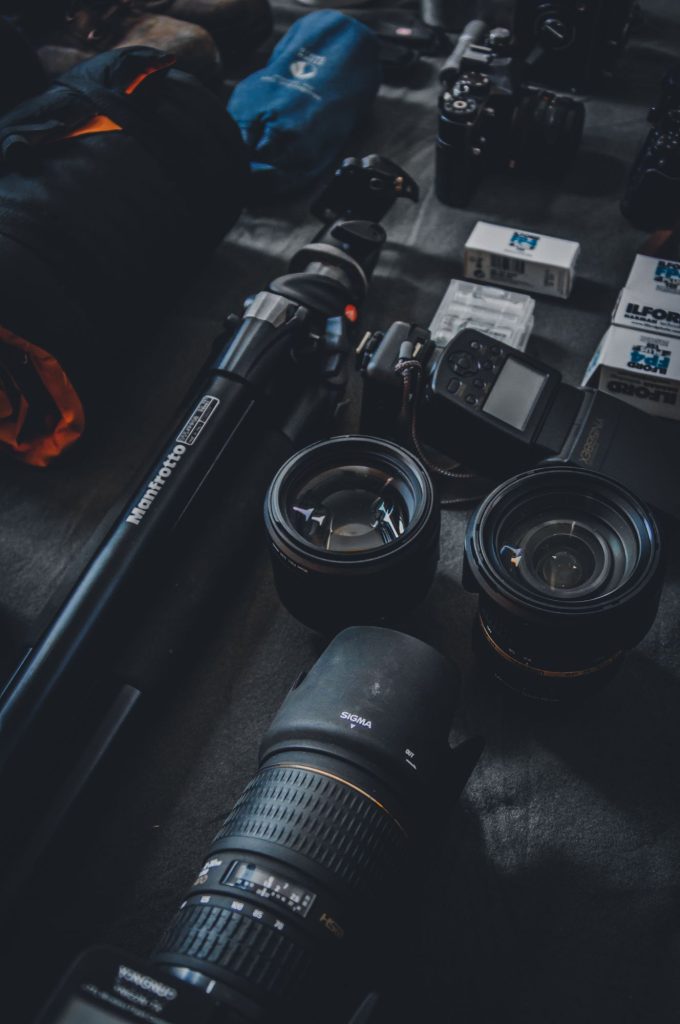
Small forest birds demand a fundamentally different kit than a tiger or leopard. Where a mammal safari rewards a long lens used occasionally for a tight portrait, Thattekad rewards a long lens used constantly — most subjects here are genuinely small in the frame even at real telephoto reach, and a mid-range zoom that served you perfectly well at an open-landscape destination will leave you cropping heavily and losing image quality here.
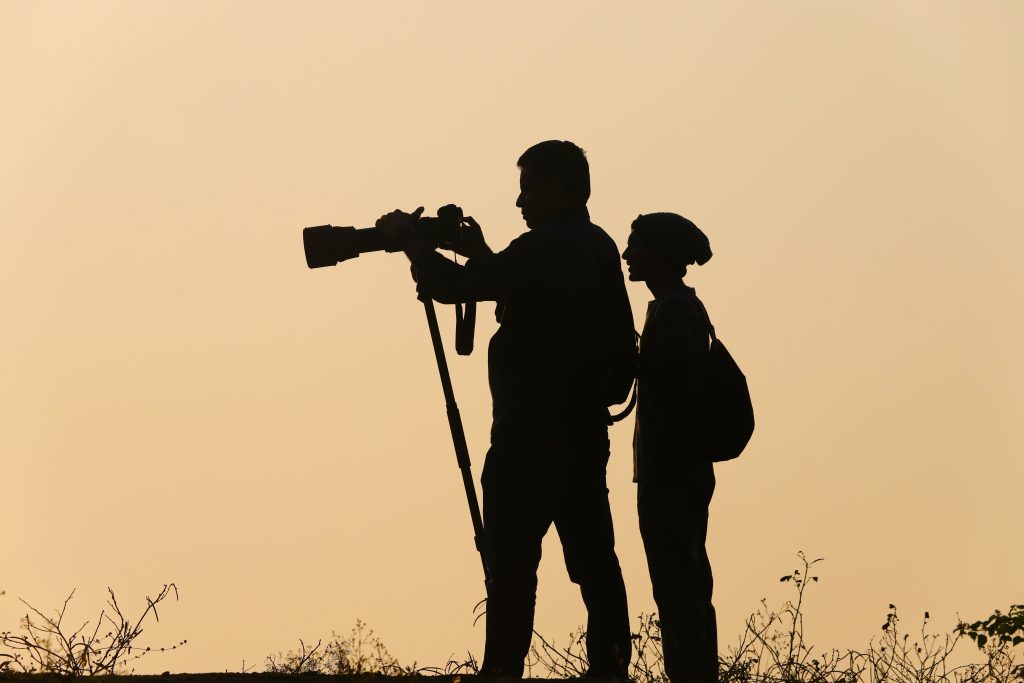
But reach alone isn’t the whole answer, because you’re walking, not sitting in a jeep. A long, heavy lens that’s manageable resting on a vehicle door becomes genuinely tiring to hand-hold across hours of trail walking, and this is exactly where a monopod earns its place in your kit. Unlike a tripod, a monopod moves with you — quick to reposition as you follow a call through the forest, fast enough to swing toward sudden movement, while still providing real stability for a heavy lens over a long walking session in a way handholding alone can’t sustain. Most experienced Thattekad photographers treat a monopod as close to essential gear for the walking trails specifically, reserving a full tripod for the stationary hide sessions where mobility no longer matters and rock-solid stability does.
What you actually carry matters too, beyond the lens itself. A day here means hours on foot, often in humidity, so a comfortable harness or strap system that distributes weight properly is worth the investment — a standard neck strap becomes genuinely uncomfortable across a full morning session in a way it never does for a shorter jeep-based outing.
Shutter Speed for a Subject That Never Sits Still
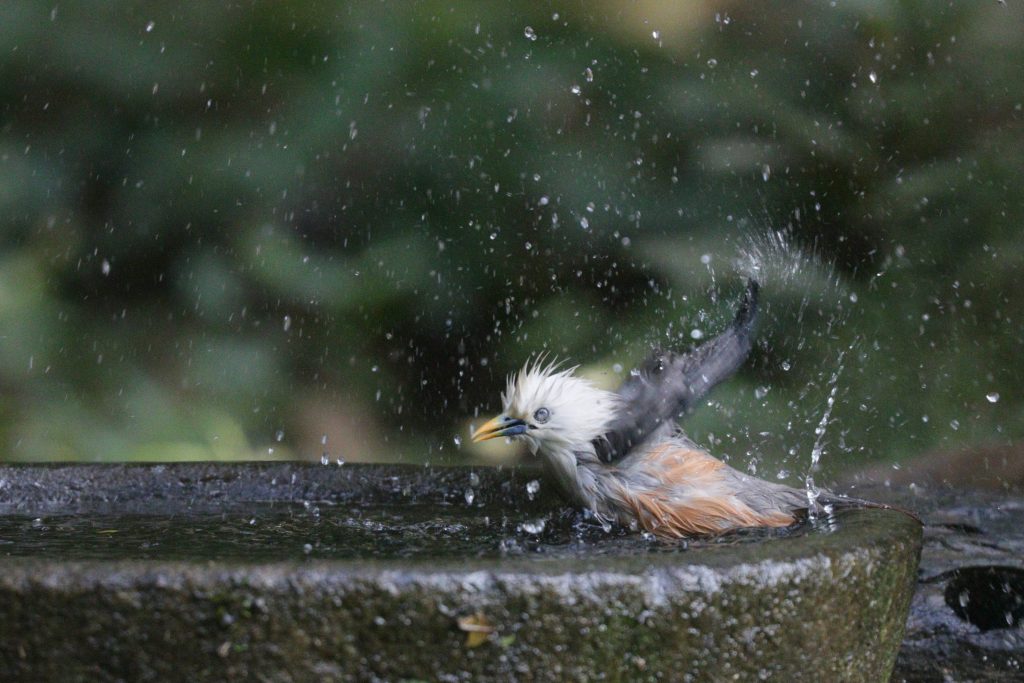
Small birds move considerably faster, relative to frame size, than most mammal subjects — a sunbird’s flight, a flycatcher’s sudden sally from a perch, a hornbill’s wingbeat, all demand shutter speeds well above what a resting or slowly walking mammal requires. As a general starting point, treat anything at or above 1/1000th of a second as a baseline for perched-but-alert birds, and push considerably higher — 1/2000th or beyond — for anything in active flight. The trade-off, given the lower light levels under canopy, is that this shutter speed demand pushes you directly into the next challenge: managing ISO in conditions that don’t offer much light to work with.
ISO and the Low-Light Realities of Dense Canopy
Forest interior light, even in the strongest morning hours, sits meaningfully darker than open grassland or wetland habitat — and combined with the fast shutter speeds small, active birds demand, this often means running ISO higher than feels comfortable if you’re used to open-landscape conditions. Modern camera sensors handle this far better than older gear did, and it’s worth genuinely testing your own camera’s usable ISO ceiling before the trip rather than discovering its limits mid-sighting. A slightly noisier, sharp image of a fast-moving forest bird is almost always more valuable than a clean but motion-blurred one — when in doubt here, prioritise shutter speed over ISO caution.
Photographing a Bird You Can Hear But Can’t See
This is a genuinely different skill from anything a mammal safari teaches, and it’s central to how Thattekad actually works. A significant share of forest sightings begin with a call, tracked by ear to a rough location, well before any visual confirmation — which means your camera often needs to be ready before you’ve actually seen the subject, not after. Pre-setting your exposure for the general light conditions of wherever you’re standing, rather than waiting to meter once a bird appears, saves the handful of seconds that often separate a captured frame from a missed one in dense cover.
Sunbirds, Flowerpeckers, and the Art of the Close, Fast Shot
Thattekad’s smaller nectar-feeding species — crimson-backed sunbird among them — present a specific challenge: genuinely tiny subjects, often at closer range than larger birds, moving unpredictably between flowers with real speed. This is where a slightly shorter minimum focus distance on your lens matters more than raw reach, since these encounters frequently happen close rather than at a distance. Continuous autofocus tracking, if your camera offers it, earns its keep specifically on subjects this small and fast — a static single-point focus struggles to keep pace with the erratic, quick movement typical of this species group.
Raptors Overhead: Composing Against an Open Sky
Species like the black baza, hunted specifically along the Baza Trail, or the various raptors working Thattekad’s grassland edges, offer a genuine change of pace from forest-interior photography — open sky rather than fragmented canopy, which simplifies exposure considerably. The compositional challenge shifts instead to framing against negative space effectively; a raptor silhouetted or perched against open sky benefits from deliberate use of that emptiness around it, rather than trying to fill the frame the way you might with a closer, canopy-framed forest bird.
Shooting Without Flash: What Actually Works After Dark
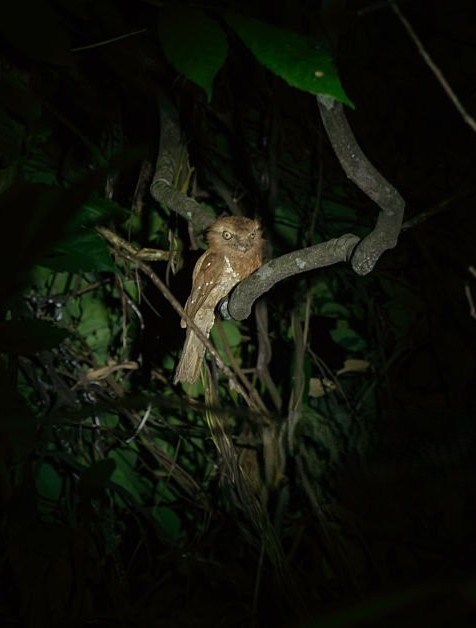
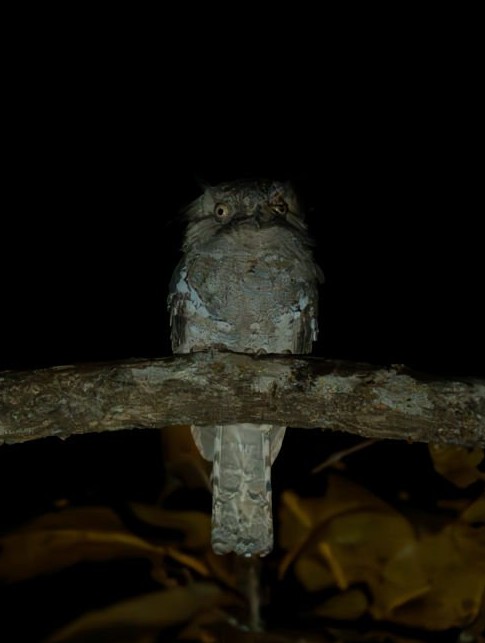
Night sessions targeting owls, nightjars, and the Sri Lanka frogmouth demand a genuinely different technical approach, and flash is not part of it near any roosting or resting bird — both for the wellbeing of a camouflage-dependent species and because a startled bird abandoning a known roost costs every future visitor, not just you, the sighting. Working without flash means embracing genuinely difficult conditions: very high ISO, wide apertures, and often a guide’s carefully angled flashlight or headlamp as your only real light source. Accept that night images here will read differently — grainier, lower contrast — and that this is the honest cost of photographing responsibly rather than a technical failure to correct.
Working With a Guide’s Light Instead of Your Own
Most night sessions are lit entirely by your guide’s flashlight, angled deliberately to illuminate a subject without disturbing it — a skill built from real experience with these specific species and their tolerance thresholds. Your job is largely to work with whatever light your guide provides rather than supplementing it yourself; a second light source, even a phone screen or a poorly angled headlamp, can undo careful positioning your guide has spent minutes achieving. Trust their read of the situation completely during a night session, more than in almost any other context in Thattekad.
Owls, Nightjars, and the Patience Night Photography Demands
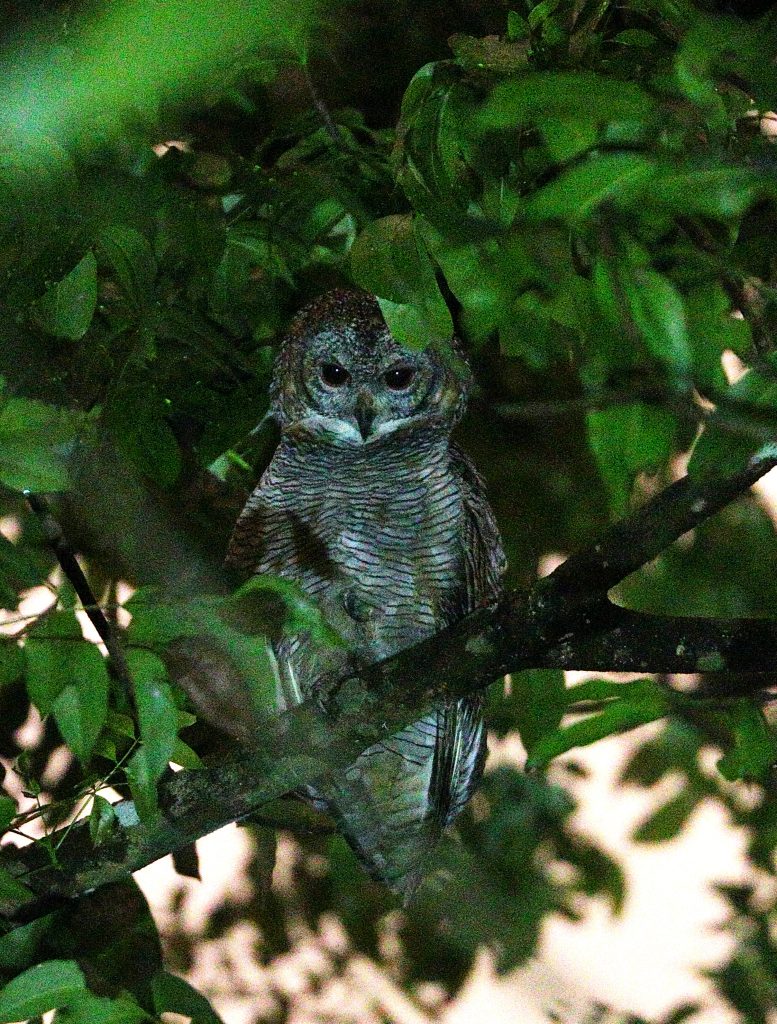
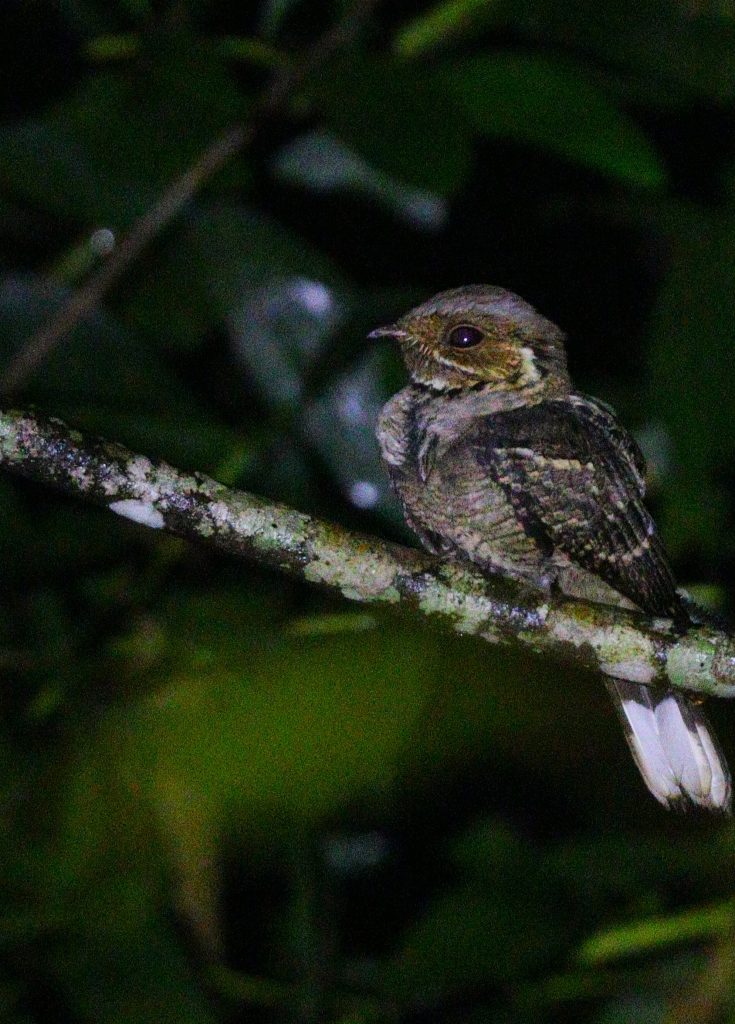
These species reward stillness more than any other subject in Thattekad. Once a guide locates a roosting owl or a calling nightjar, the right approach is usually minimal movement and patience — letting the subject settle into tolerating your presence before attempting a frame, rather than immediately pushing for the shot. Night photography here runs on a slower rhythm than daytime trail work entirely, and photographers who arrive expecting the same pace as a morning session often leave frustrated rather than accepting that this is simply a different, more deliberate kind of encounter.
What a Hide Actually Changes About How You Shoot
A fixed hide inverts the entire dynamic of trail photography. Instead of searching and reacting, you wait in a stationary position near a known feeding site or roost, letting the subject come into range on its own terms. This is precisely where a full tripod, rather than the monopod suited to walking trails, becomes genuinely worthwhile — with no need for mobility, a tripod’s complete stability lets you use lower shutter speeds where needed, compose with total precision, and hold a frame steady for extended waiting periods without fatigue. Bring the tripod specifically for hide sessions if you know one is planned; carrying it on a walking trail, by contrast, is usually more burden than benefit.
Stationary vs. Searching: Two Different Photography Mindsets
Trail photography and hide photography genuinely call for different mental approaches, and conflating them leads to frustration either way. A trail session rewards alertness, quick reaction, and a willingness to accept imperfect, fleeting opportunities. A hide session rewards the opposite — sustained patience, careful pre-composition, and a willingness to wait, sometimes for a long stretch, for a single well-composed opportunity rather than many imperfect ones. Knowing which mode you’re in before you start shapes both your gear choice and your expectations far more than most visitors anticipate going in.
The Playback Debate: Why We Don’t Recommend It
Playback — using recorded bird calls to lure a species into view or closer range — remains a genuinely contested practice across the birding and photography community, and it’s worth understanding the debate rather than assuming it’s simply a useful tool. Research and growing consensus among conservation-minded birders suggests repeated playback can meaningfully disrupt breeding behaviour, cause territorial stress, and in heavily visited locations, condition birds to respond to calls in ways that affect natural behaviour over time. Thattekad’s concentrated, repeat-visit tourism model makes this a real concern rather than an abstract one — a technique with a small effect used once becomes a genuine problem when used by every visitor passing through the same trail. We don’t recommend it, and would encourage choosing guides and operators who share that position.
Flash, Roosts, and the Line You Shouldn’t Cross
Beyond night sessions specifically, the same no-flash principle extends to any daytime roosting or resting bird encountered at close range — a species relying on stillness and camouflage to avoid detection can be genuinely disturbed by a sudden flash regardless of the hour. The general rule worth internalising: if a bird is stationary and appears to be resting rather than actively foraging or displaying, treat it with the same caution you’d apply to a night roost, natural light only, and be willing to walk away without the shot rather than risk disturbing it.
What Respecting a Nesting Site Actually Looks Like
Active nests deserve particular caution beyond general roost etiquette. Prolonged presence near an active nest, even without flash or playback, can be enough to stress parent birds or draw predator attention to a location they’d otherwise keep concealed. If a guide identifies a nest specifically, the right approach is typically a brief, respectful observation and a small number of frames from a reasonable distance, rather than an extended session — the difference between a responsible sighting and one that risks the nest’s success often comes down to simply not overstaying.
What Thattekad Actually Asks of a Photographer
Across gear, technique, and etiquette, Thattekad asks for something most mammal-safari photography doesn’t demand as insistently: genuine patience, paired with a willingness to prioritise the subject’s wellbeing over the shot in the moment it matters. This isn’t a destination that rewards impatience or aggressive positioning the way a fast-moving jeep encounter sometimes can — it rewards photographers willing to slow down to the sanctuary’s own pace.
The Photograph This Place Is Actually Offering You
It’s tempting to arrive chasing the same clean, fully-lit portrait style that works elsewhere. But the photographs genuinely unique to Thattekad are the ones that embrace what makes it different — a bird half-lit by a single shaft of canopy light, a frogmouth so still and camouflaged it barely reads as alive, a raptor composed against genuine open sky after hours of forest shadow. That’s the image no drive-through safari destination can offer, and it’s worth working toward deliberately rather than treating Thattekad’s real challenges as obstacles between you and a more conventional shot.
For everything else worth knowing before you go, see our complete guide to planning a Thattekad trip.